
Padding and Margins
Apr 16, 2018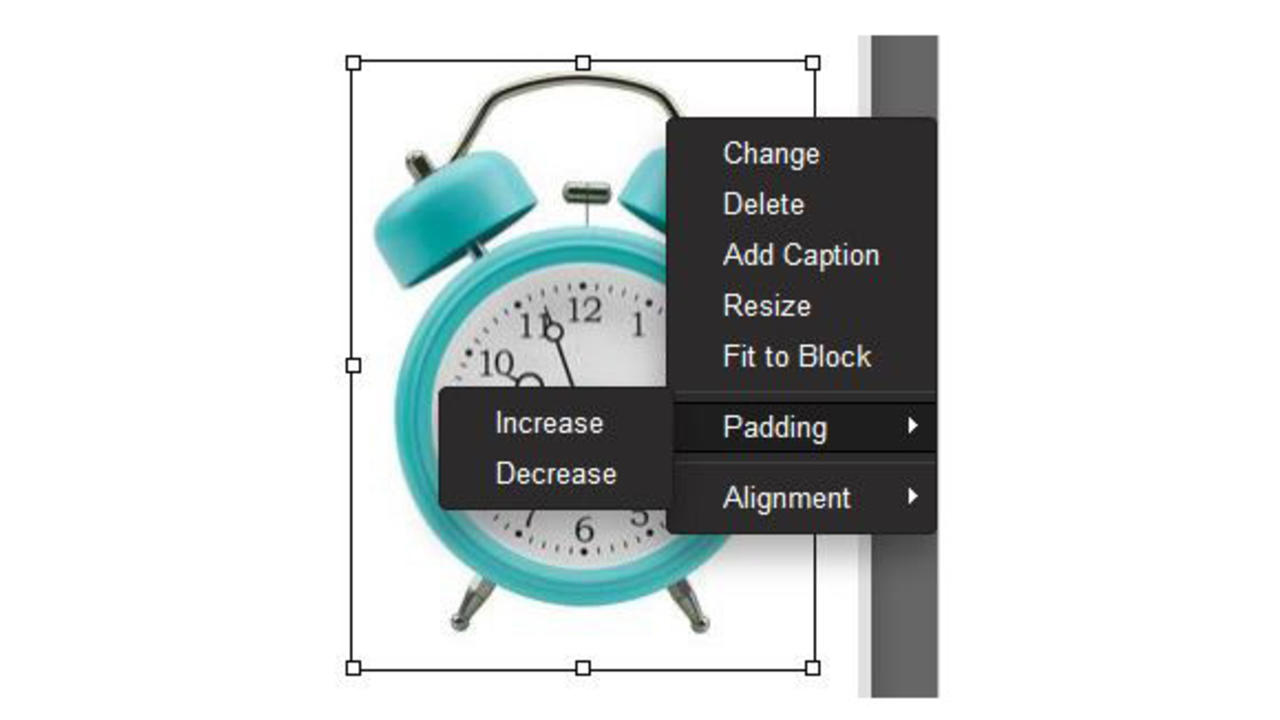
Ever wonder why some images you see in email newsletters have text right next to the image and others have a nice space around them?
In Constant Contact it’s called padding and in MailChimp it’s called margins.

To add more space around an image In Constant Contact, click on the image after it’s inserted in the text and then click the settings wheel. You’ll see Padding -> increase. Repeat until you have your desired padding.
 To add more space around an image In Constant Contact, click on the image after it’s inserted in the text and then click the settings wheel. You’ll see Padding -> increase. Repeat until you have your desired padding.
MailChimp provides more control over the space around an image allowing you to use pixels to choose how much space to create on each side.

To add margins, double click on the image after it’s inserted, click “show image style options” and then assign a margin to each side of the image.
Small thing – big impact. And it can make the difference in the professionalism of your client’s e-newsletters and e-blasts.

